
Start with the question the trial must answer
Before you switch on the sealing head, decide what success looks like. A trial is not just about seeing whether a cap seals once. It should show whether the liner suits the bottle neck, whether the seal holds after handling, and whether the process can run at your normal speed without overheating or poor placement.
For pharmaceutical, food and chemical packs, the main question is usually the same: can the seal protect the product through transport, storage, and day to day use? If you can define that upfront, the trial can be measured properly. That saves time, especially when production is booked and materials are expensive.
In Jacobs or Prospecton, where lines are often running against tight dispatch windows, even a small delay matters. A clear trial plan helps your team focus on the facts, not opinions.
Bring the right bottles, caps and liners
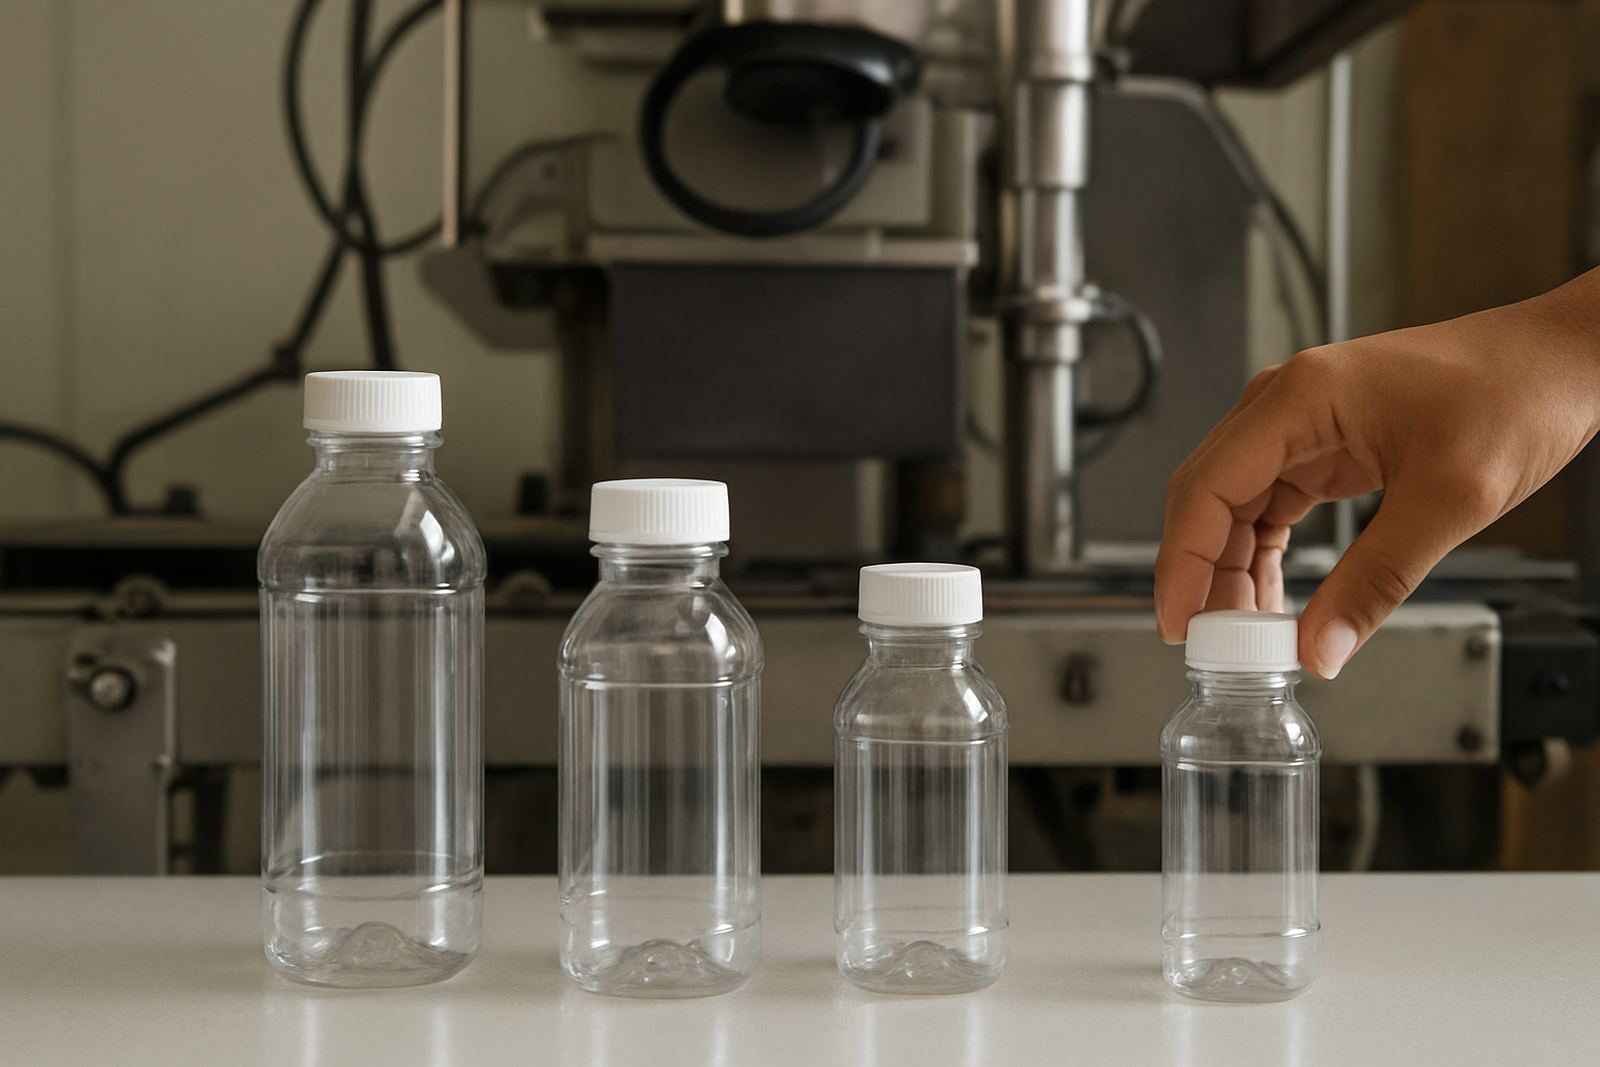
Trials often fail because the samples do not match the real pack. Bring the exact container, cap, and liner combination you use in production. If you use more than one bottle size or neck finish, send samples of each. A liner that works on a 38 mm cap may behave differently on a 28 mm pack, and the same is true for short runs with lighter bottles.
It also helps to bring extra samples from the same batch if possible. That gives room for repeat testing, especially when you are checking seal strength, torque, or liner alignment. If your product is sensitive to contamination or moisture, bring sealed product samples too so the trial can reflect actual use.
- At least 20 to 30 containers for each pack format
- Matching caps from the same production batch
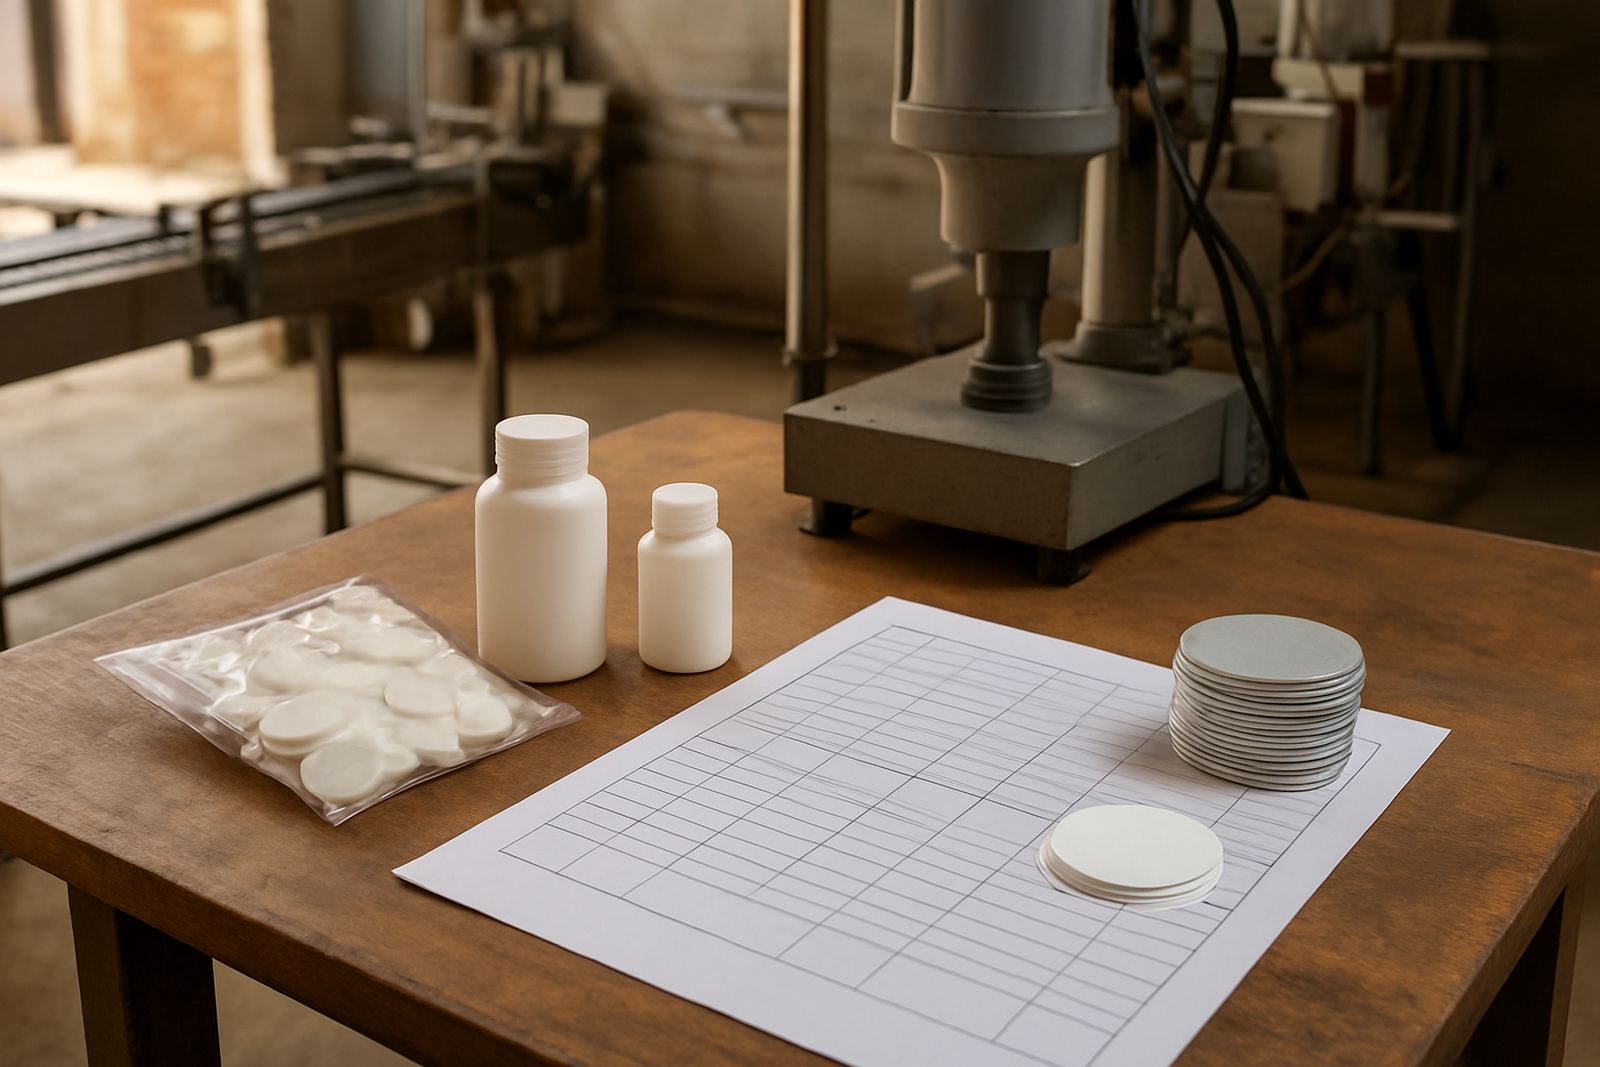
- Existing liners or sample liners for comparison
- Filled product, if the seal is being tested on live stock
- One or two spare carton labels if filled packs must be packed immediately after sealing
Check the line condition before the visit
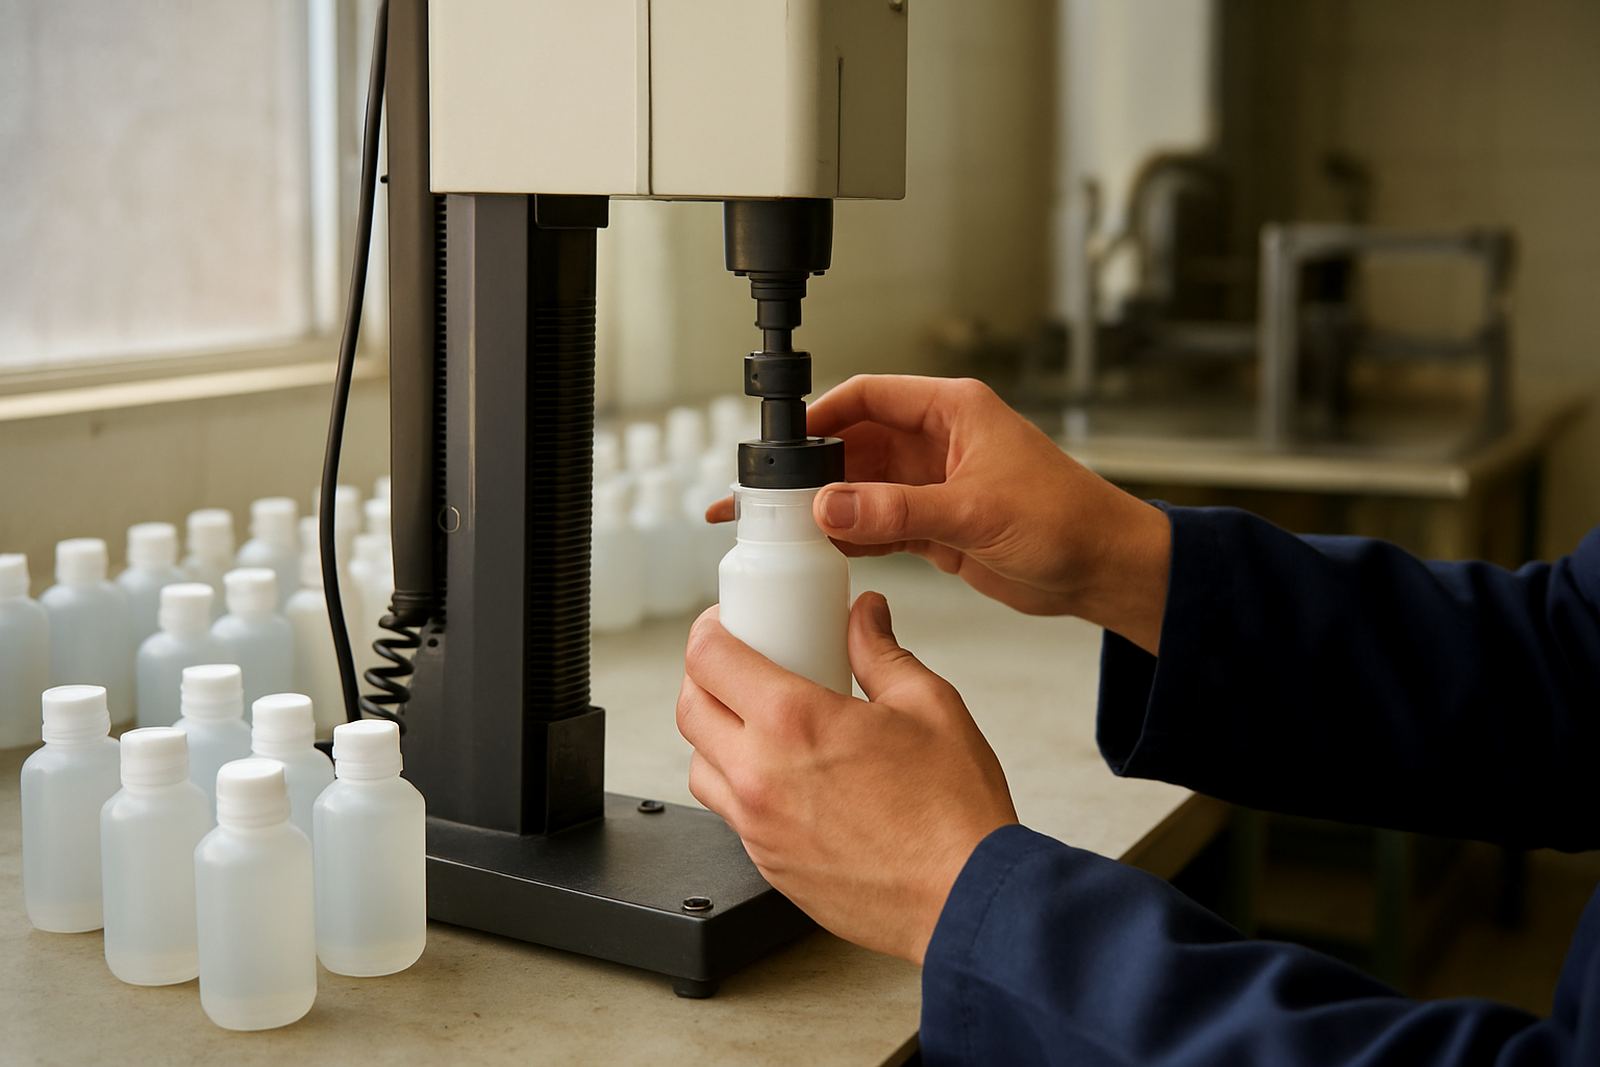
A sealing trial only tells the truth if the machine is in good working order. Make sure the capper, conveyor, guide rails and induction head are set up correctly before the trial starts. If the container is wobbling, the trial results can be misleading even when the liner itself is fine.
Power supply is another point that gets overlooked. In many sites load-shedding or generator changeovers can affect line stability, so it is worth confirming the power source, voltage consistency, and earthing before the trial. If the line uses compressed air, check pressure and air quality too. A weak air supply can cause capper problems that look like sealing faults.
For coastal sites around Durban and Richards Bay, humidity can also affect liners, cartons and stored caps. Keep samples in the same conditions they will face in production, not in a cool office that hides the real behaviour.
- Confirm the line speed you want to test
- Inspect cap placement and bottle alignment
- Check power, earthing and backup supply
- Verify air pressure where pneumatic equipment is used
- Keep samples away from direct sun and damp floors
Prepare the product data that saves time
The more the trial team knows about your product, the faster the right liner can be matched. Share the fill temperature, product type, chemical exposure, shelf life target and any storage conditions that matter. A powdered product does not behave like a liquid detergent, and an acidic food pack is not the same as a solvent drum.
If the product will be sold through retail, hospital supply, wholesale, or direct industrial supply, say so. Different handling routes create different risks. A pack that must survive courier movement from Durban to Pietermaritzburg needs a different confidence level from a pack that stays on site.
Also mention any municipal or customer requirements that affect closure performance, labelling or tamper evidence. If a pack must be opened easily but still show clear tamper evidence, that needs to be part of the trial brief from the start.
Agree on the test method before the first seal
Useful trial results depend on agreed checks. Decide how the seal will be judged, who will sign off the result, and how many samples must pass before you accept the liner. Some customers want visual checks only, but that is rarely enough for packed goods that face heat, transport or long storage. A proper trial should include handling and leak checks where relevant.
Set aside time for live adjustments. It is normal to make small changes to temperature, dwell time, pressure or line speed during the trial. What matters is that each change is recorded. Without notes, no one can tell which setting gave the best result. Keep one person responsible for writing down the details, because after a few runs the numbers blur together.
- Decide pass or fail criteria before the trial begins
- Record machine settings for every test run
- Allow time for repeat samples and adjustment
- Confirm who signs off the final result
- Keep a simple record of any failures and the likely cause
Use the trial to plan installation and training
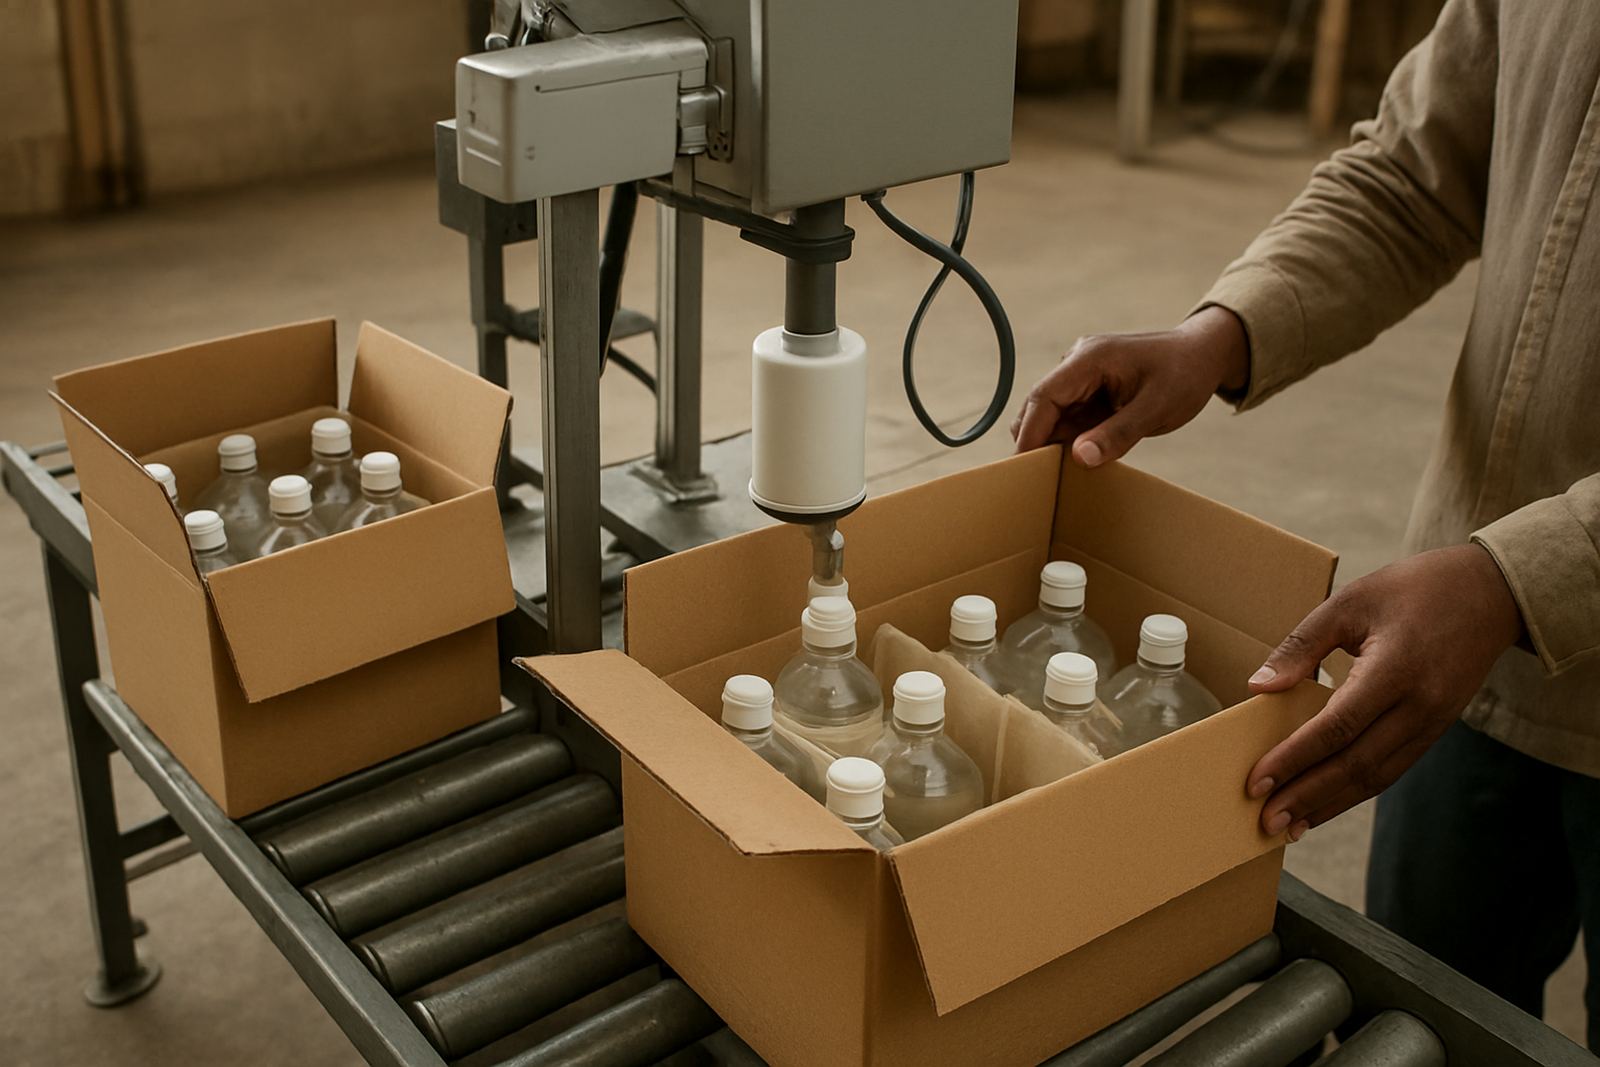
A trial should not end with a few good samples in a box. It should point to the next step on your line. If the seal is sound but the cap application is inconsistent, the issue may be setup or operator handling rather than the liner. That is valuable information because it shapes installation, commissioning and training.
For factories in Pinetown or Prospecton, where uptime matters and shifts can change quickly, a trial can also show whether the team needs a short training session on liner handling or routine checks. In some cases the best result comes from a small change in the sealing head position, not from changing the whole process. A good trial saves money because it prevents larger mistakes later.
If the product will run nationwide, use the trial to prepare a simple support plan: spare liners, operator notes, and a contact point for remote help when needed. That keeps the line moving after the first batch has left the plant.
A Durban trial done properly saves days later
One food packer in Jacobs came to a sealing trial with the right bottles but the wrong cap batch. The seal looked uneven at first, and the team was ready to blame the liner. Once the correct caps were brought in and the line was checked for bottle wobble, the results changed immediately. The final setup ran cleanly, with fewer rejects and no need for a second visit. That is the value of trial planning: you remove avoidable problems before they become production issues.
When you prepare the samples, the line, and the test method properly, the trial becomes a useful decision tool rather than a guessing exercise. It is the fastest way to know if a seal will hold, and if the process will work on your floor, on your product, in your conditions.