
Why PET needs a different sealing approach
PET is light, clear and widely used for liquids, powders and granules, but it behaves differently from glass and HDPE on a filling line. The bottle shoulder, cap torque and neck finish all affect how well an induction seal forms, so the liner has to suit the container and the product, not just the cap size.
On a good line, the seal protects against leaks, tampering and product loss. On a poor setup, you get weak bond areas, lifted liners or a seal that looks fine until the pallet has travelled from Durban to Polokwane. That is why matching the liner to the bottle and the fill process matters from the start.
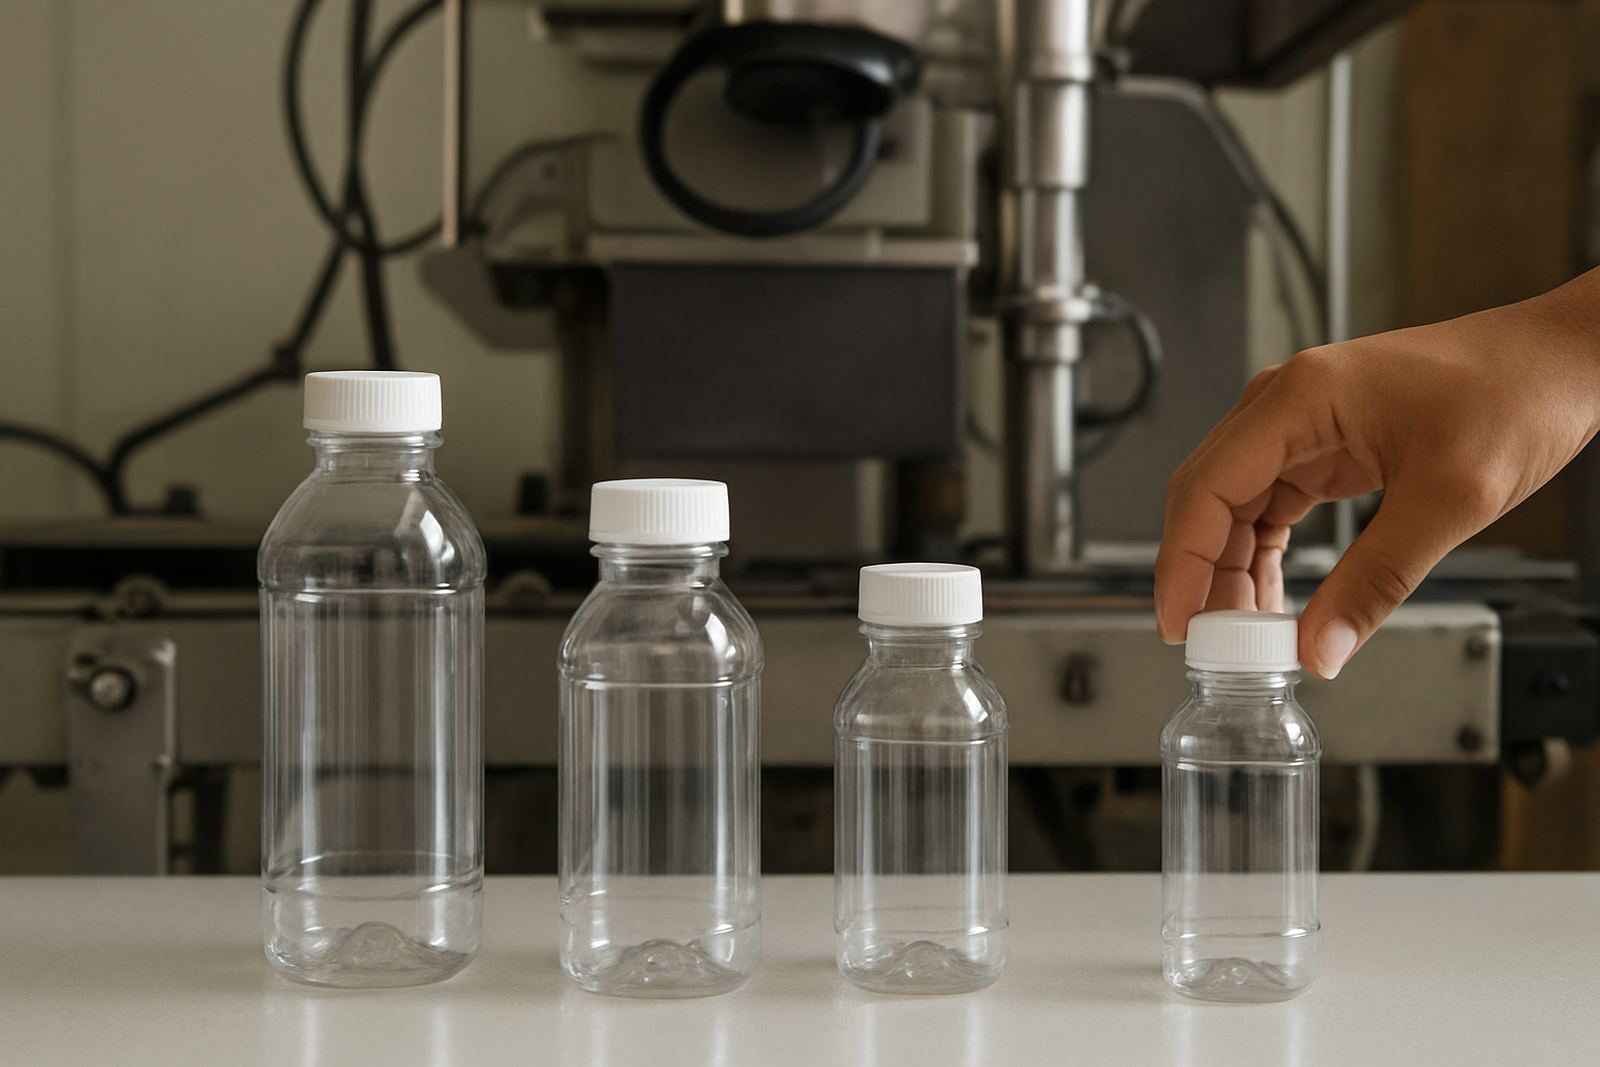
For PET packaging, the most common mistake is treating every bottle the same. A 500 ml round bottle for personal care does not behave like a 1 litre chemical bottle or a narrow-neck food pack. The sealing method must suit the cap material, closure speed and any moisture or residue near the rim.
Match the liner to the product, bottle and cap
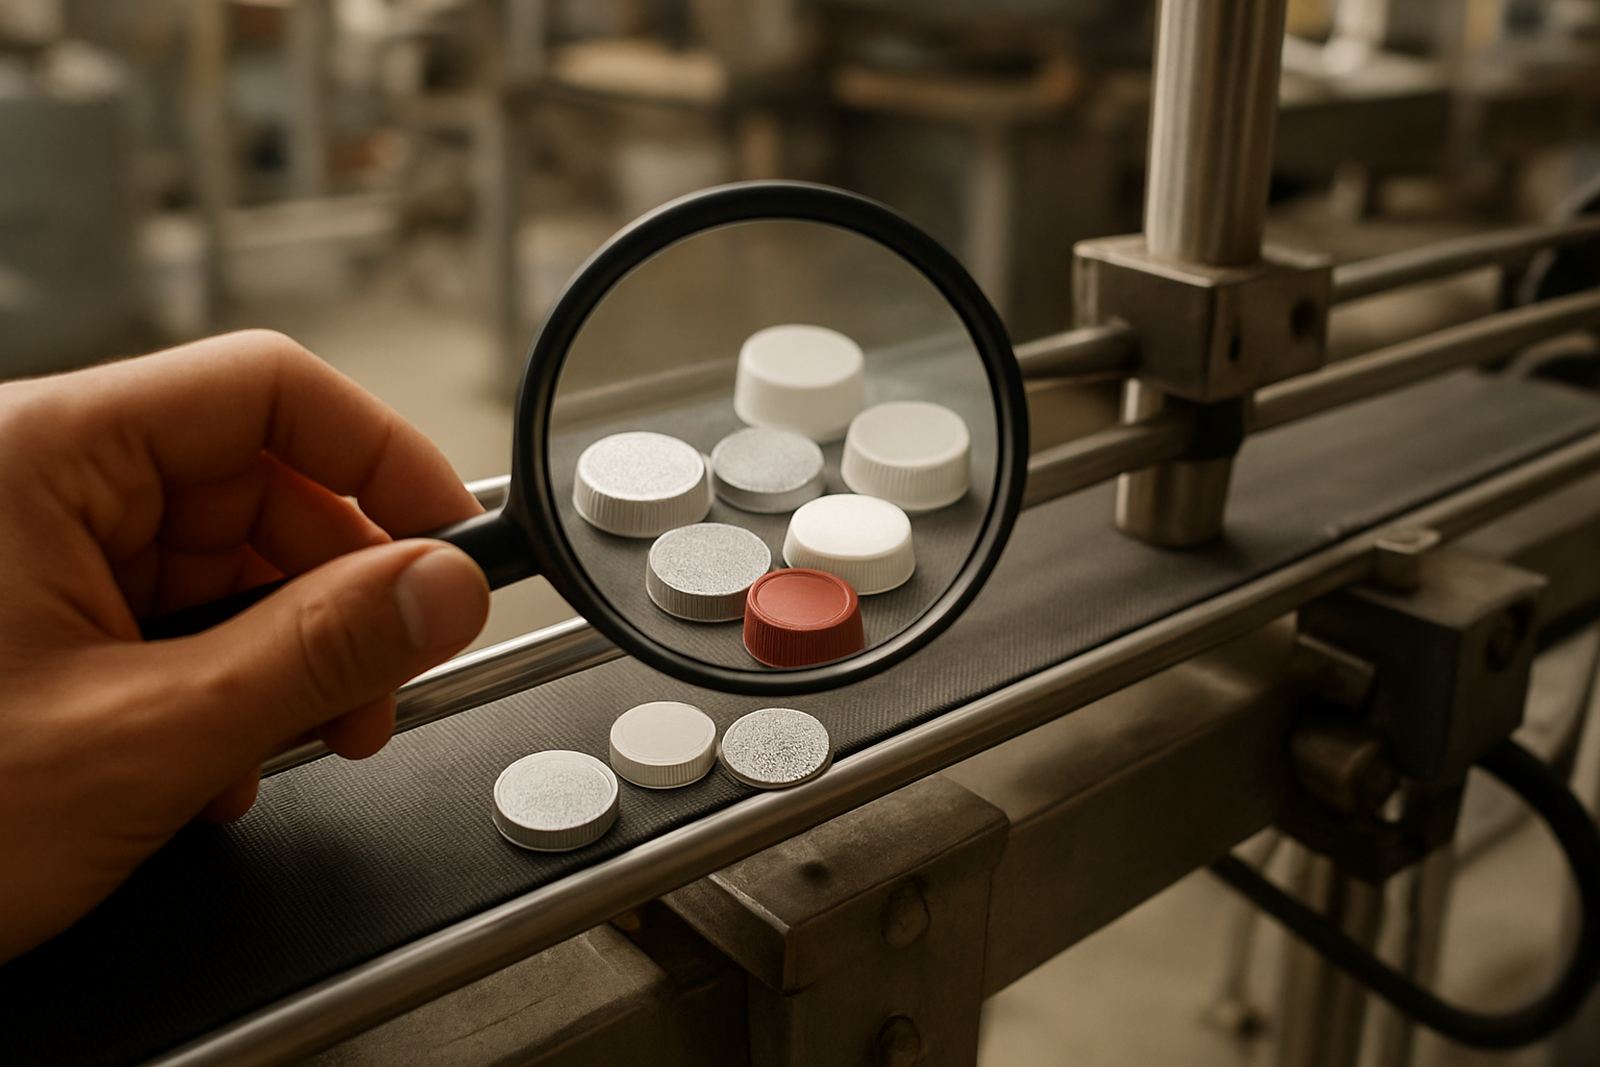
Good sealing starts with liner selection. Some products need a stronger bond, some need easier removal, and some need better resistance to oils, acids or fine powders. The liner also has to cope with any heat from the induction head without warping the cap or damaging the bottle finish.
When we look at PET bottles, we usually check three things first: the product inside, the neck finish on the bottle, and the cap type on the line. A food pack with a wet rim after filling will need different attention from a dry powder pack or a detergent bottle with a slightly aggressive formula.
- Check the neck finish size and thread style before choosing a liner.
- Confirm whether the product is dry, oily, acidic or moisture sensitive.
- Test the liner on the actual cap and bottle, not just on samples.
- Make sure the seal peels or breaks in the way your customer expects.
In practice, liner matching is where many bottling lines gain or lose consistency. A small change in bottle supplier, resin batch or cap mould can alter the result, even if the line settings stay the same.
Set the induction head to suit the line speed
Induction sealing depends on the right balance of power, dwell time and head height. Too little energy gives a weak seal, while too much can overheat the liner or distort the cap. On PET bottles, the distance between the head and cap should be checked often because a small change can affect seal quality across an entire shift.
Operators should also watch line speed. If the filler speeds up or slows down without adjusting the sealer, the seal can become inconsistent. This shows up first as random leak failures or a seal that peels unevenly around the edge. In a busy plant, those faults are expensive because they are often only seen after cartons have been packed.
- Keep the head centred over the cap path.
- Check bottle stability before the induction point.
- Confirm the cap is tightened to the same torque every time.
- Record settings for each product format so changeovers are faster.
Load-shedding adds another layer. After a power interruption, some lines restart with drift in settings or timing, so operators should run a short validation sample before clearing full production. That small check can save a lot of rework later.
Control moisture, dust and product residue
PET sealing failures are often caused by conditions around the bottle rather than the liner itself. A damp rim, powder on the thread or a trace of product on the sealing area can stop the liner from bonding properly. This is common in food, pharmaceutical and chemical packs where filling conditions vary from one batch to the next.
In Durban and the coastal belt, humidity can make this worse. Caps may carry a little condensation after storage, or filler rooms may pick up moisture during night shifts. If the rim is not clean and dry before sealing, the liner may look acceptable but still leak under transport vibration.
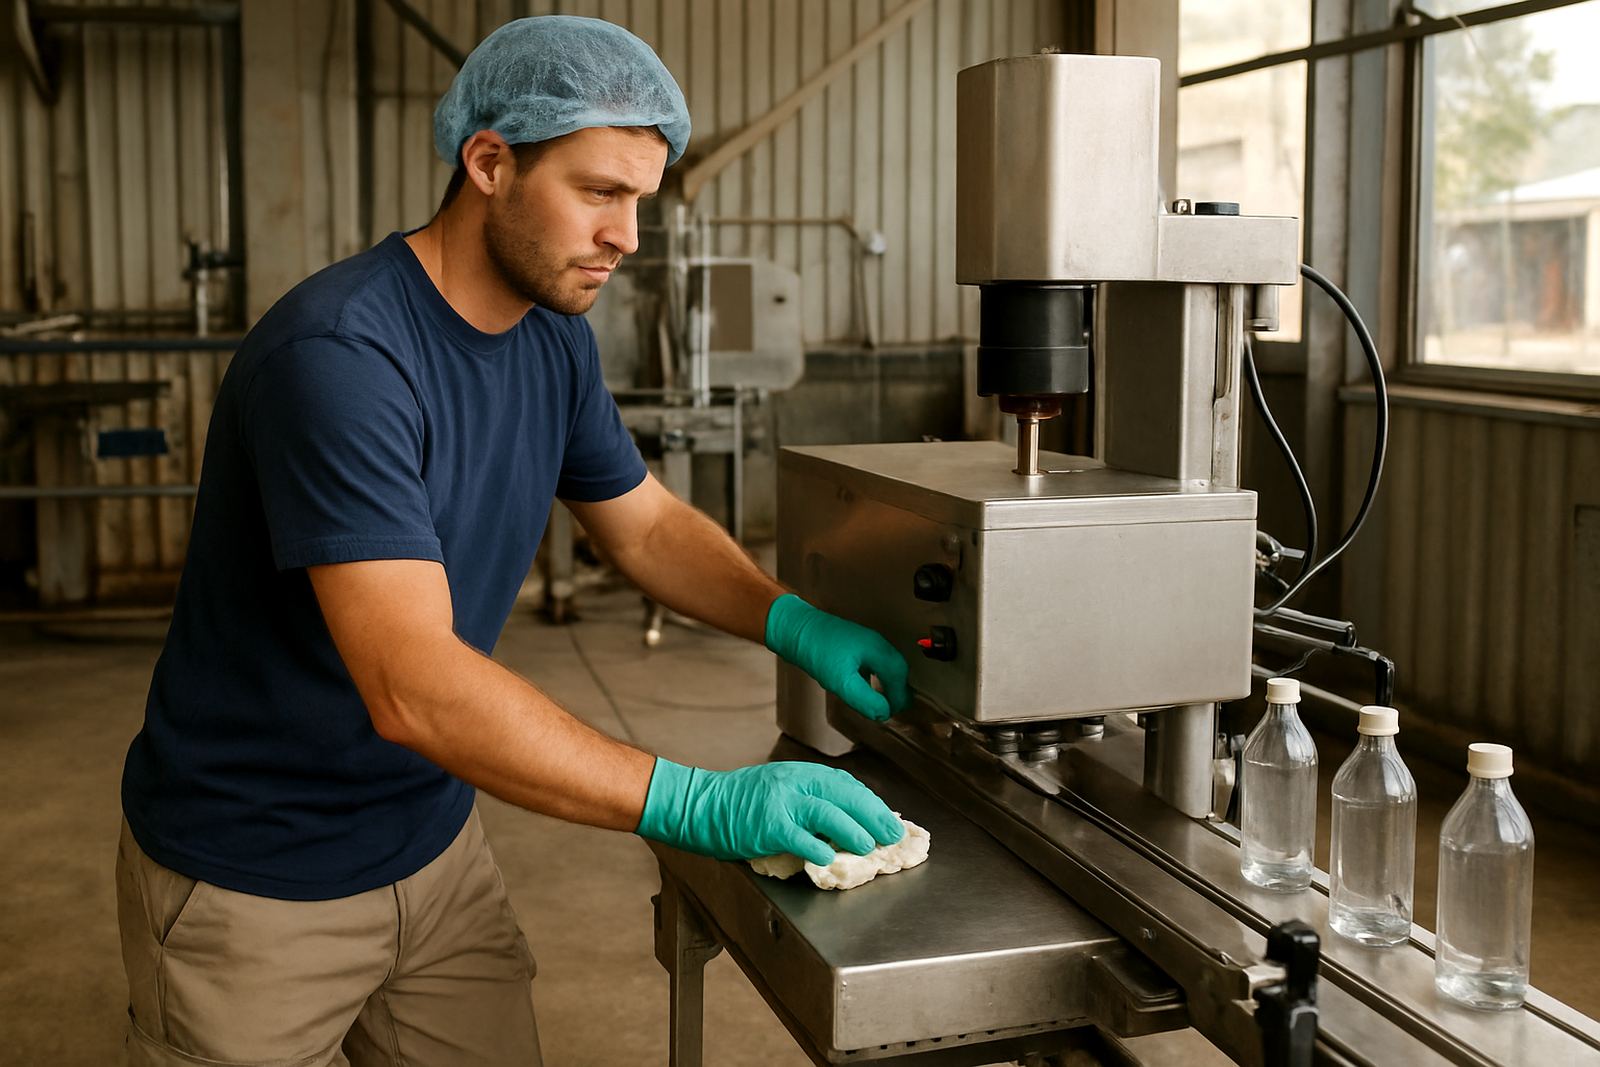
Good housekeeping around the capper and sealer is worth more than people think. Operators should check the bottle path, wipe down contact points and watch for dust, product splash or static build-up around the neck area. A tidy line is not just about appearance, it helps the seal hold.
Use practical checks during production and changeovers
Seal quality should be checked during start-up, after changeovers and at set intervals through the shift. A quick visual inspection is not enough on its own, because some faults only appear after handling or temperature changes. A simple validation routine helps to spot the issue before pallets leave the site.
For PET bottles, we usually recommend a check that includes cap torque, seal integrity and a sample pull test where suitable. If the pack is going to pharmacy distributors, cold rooms or long-distance freight, the checks need to reflect that real use. A pack that passes in the factory but fails after a truck trip is no good to anyone.
- Inspect the first 10 to 20 bottles after a format change.
- Retest after any stoppage, power outage or line jam.
- Keep a sample of accepted and rejected seals for comparison.
- Train operators to notice lifted edges, wrinkles and burn marks.
When the process is stable, these checks take only a few minutes, but they help keep waste down and reduce complaints from customers. That matters whether you are packing in Jacobs, Pinetown or Pietermaritzburg.
A Durban example: getting a PET line ready for mixed shifts
A common local scenario is a packing room in Jacobs running PET bottles for a food or chemical product on two shifts, with some changeover pressure and occasional power interruptions. In that setup, the team needs settings that can be repeated by different operators and confirmed quickly after restart. If one shift uses a slightly different cap torque or forgets to check rim cleanliness, the seal performance changes straight away.
The best results usually come from a combination of correct liner choice, stable cap application and a clear operator checklist. Once the line is set, the team should keep notes on the bottle supplier, cap batch and sealing parameters so the same format can be repeated without guesswork. That record becomes useful when a supplier changes a bottle mould or a new customer asks for a different closure.
For plants servicing Richards Bay, Prospecton or inland sites, this approach also makes remote support more useful. If the line data is available, it is easier to guide the team on what to check first and whether the problem is with the liner, the head settings or the bottle finish.