

Why narrow caps need tighter process control
When a cap is narrow, the seal area is smaller and the cap can sit off-centre more easily. That means a slight tilt, a loose torque setting or a poor bottle finish can cause weak seals, lifted liners or patchy adhesion. In pharma packing, that is not just a quality issue, it can become a spoilage or contamination risk.
Small cap formats also show problems faster than larger closures. A line that looks fine on a 38 mm cap may start failing on a 28 mm or 20 mm neck if the induction head height, conveyor speed or bottle spacing is not corrected. For Durban and coastal plants, high humidity can add another layer because moisture on caps or necks can affect consistency if the pack room is not well controlled.
Choose the liner to match the product, not just the bottle
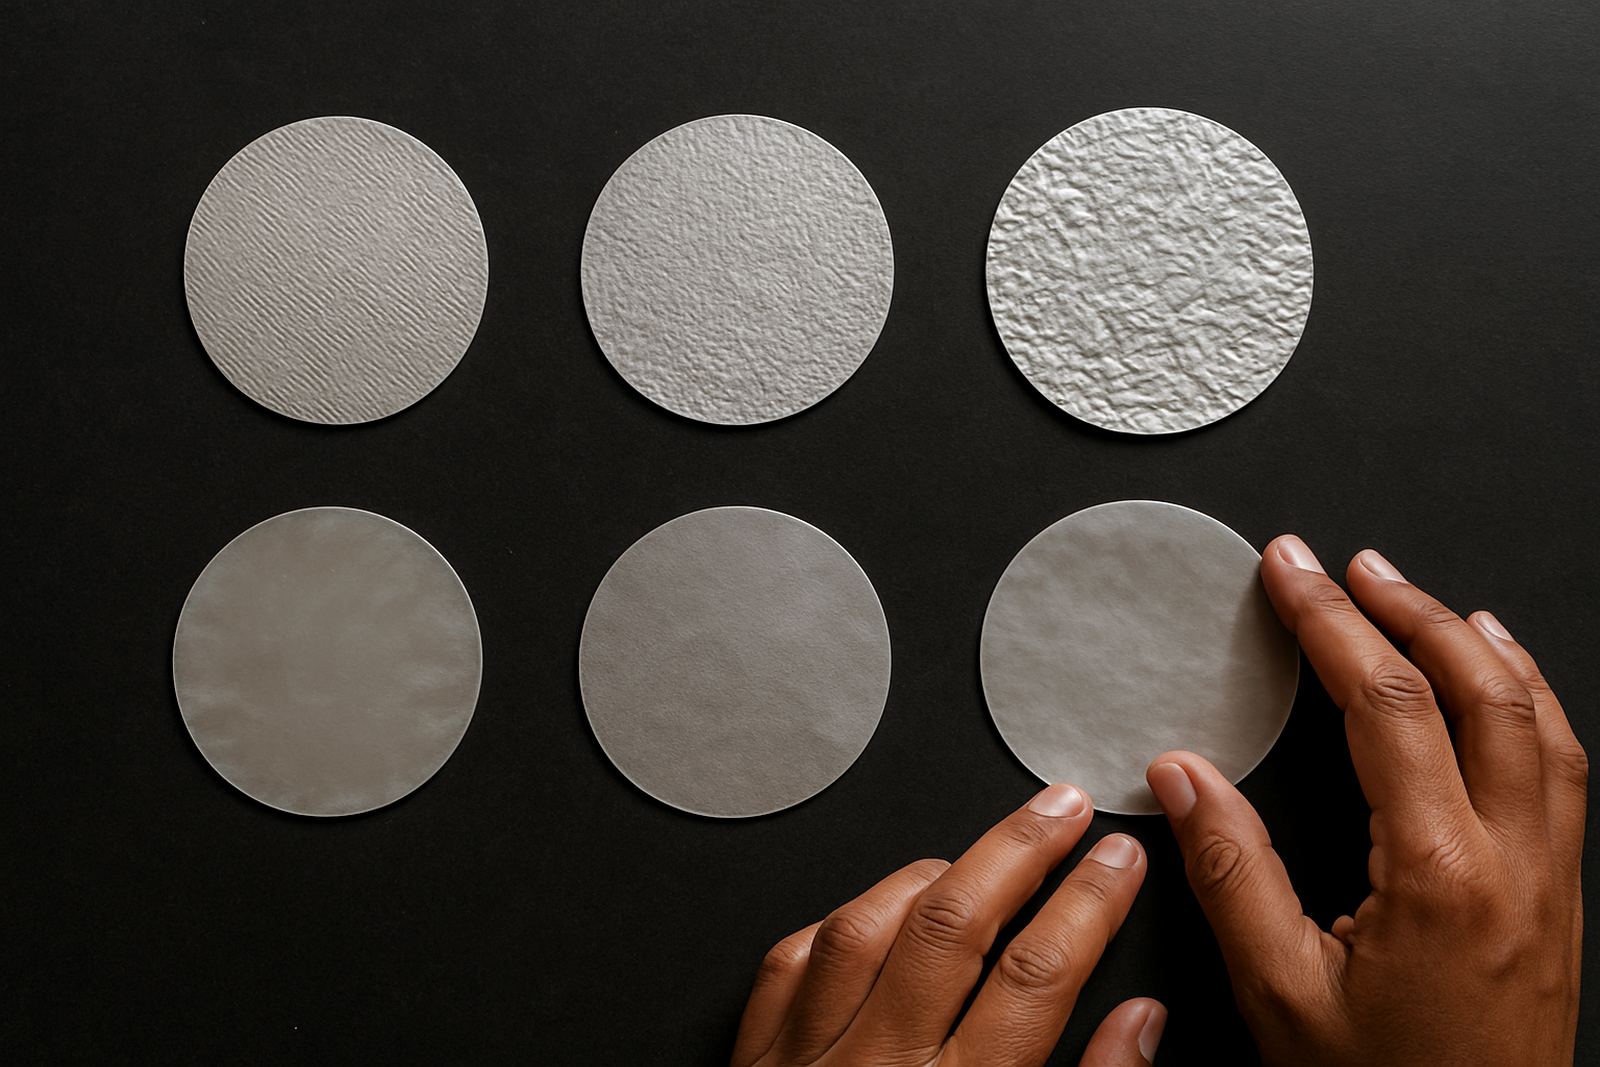
The liner is doing the real sealing work, so it must match the product, container material and required shelf life. For narrow pharmaceutical-style caps, a poorly matched liner can curl at the edge, seal unevenly or leave too much residue on removal. The liner thickness, foam layer and sealing laminate all matter.
It helps to confirm a few basics before you run production:
- Bottle material, such as PET, HDPE or glass
- Product sensitivity to moisture, solvent or oxygen
- Required seal strength and tamper evidence
- Cap diameter and thread finish
- Whether the product will travel inland, coastal or export routes
A good liner match should give a clean, even bond across the whole neck finish. If the liner is too heavy for the cap, you may get heat build-up or distortion. If it is too light, the seal may hold for a day and fail later. That is why liner matching is worth doing properly instead of guessing.
Set the induction head for the cap size you are using
With smaller caps, the induction head position matters more because the energy field needs to be aligned with the sealing band under the cap. If the head is too high, heat transfer can be weak. If it is too low, the cap may overheat or the liner may bond too aggressively on one side.
On a busy line in Jacobs or Pinetown, operators often change formats quickly and forget to reset the head after a size change. That is where the trouble starts. A stable setup should include the correct head height, a steady conveyor gap and enough bottle support so the containers do not wobble as they pass through.
- Keep the head centred over the bottle path
- Check that bottle tops are level before sealing
- Run a sample pack after every changeover
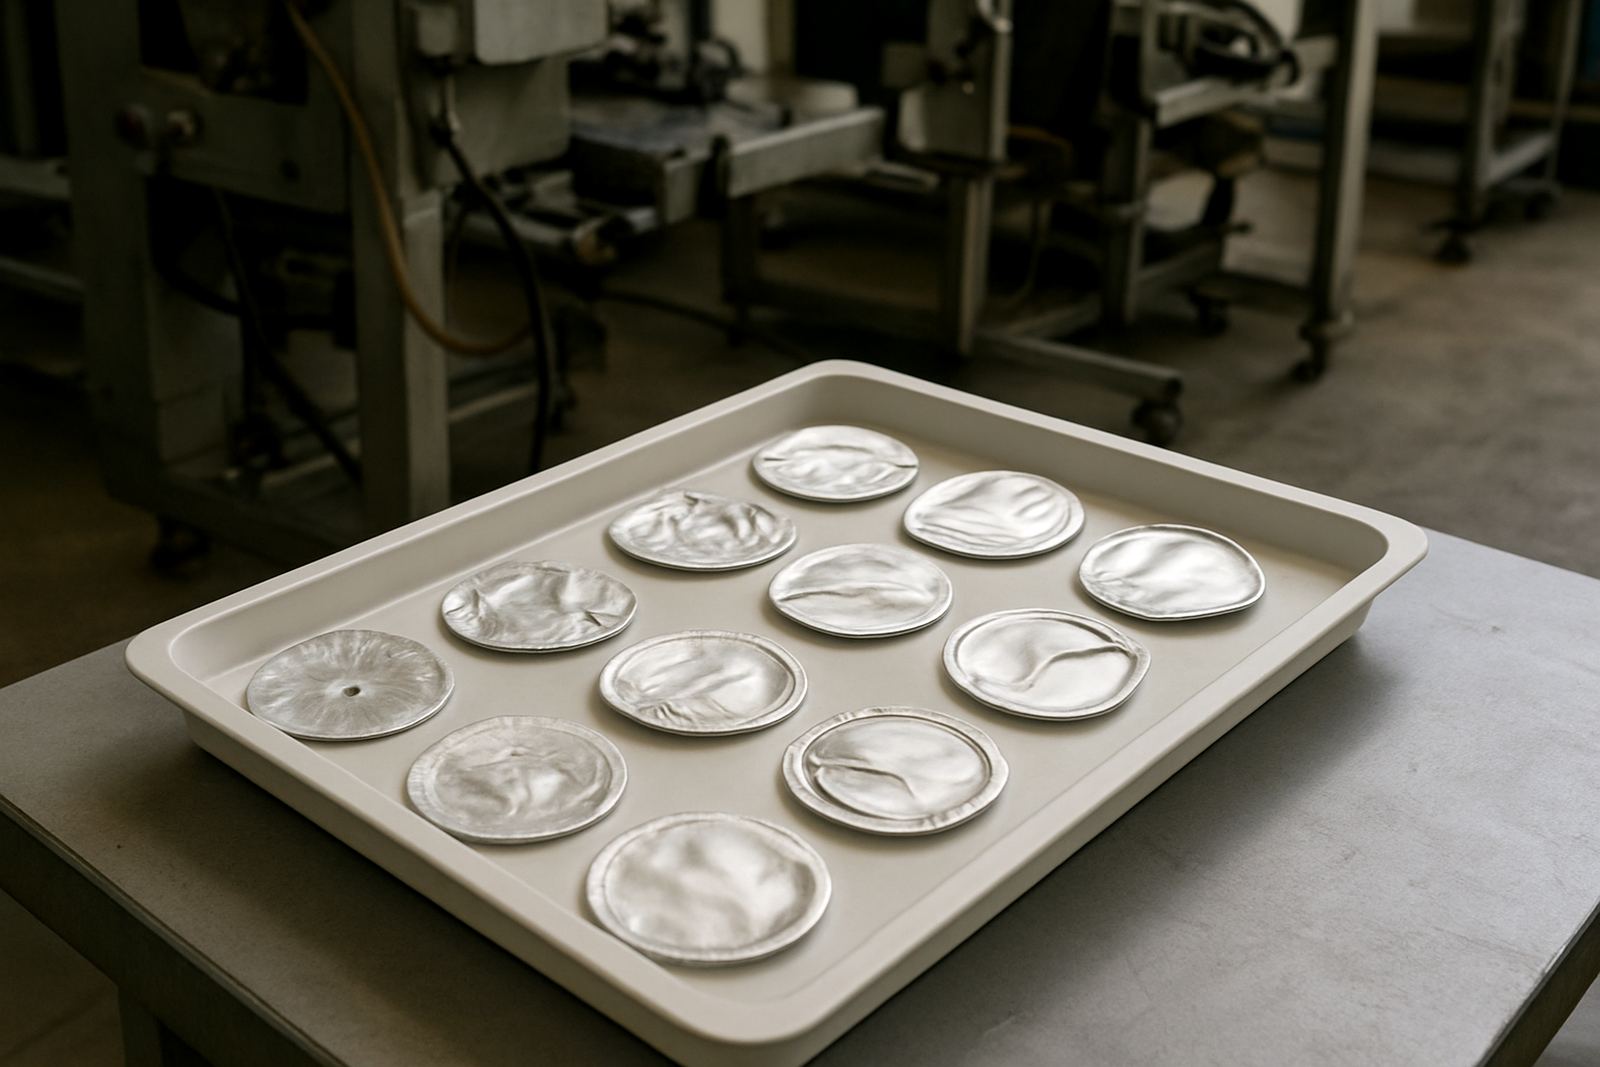
- Watch for scorching, wrinkling or incomplete bond rings
It is also worth checking whether the cap material is suitable for induction sealing. Some closures handle heat well, others need closer control. Small cap formats leave less room for error, so a small setting change can have a big effect on output.
Control torque and bottle fill height before you blame the sealer
Many sealing faults are actually capping faults or filling faults. If the cap is under-torqued, the liner may not sit flat. If the cap is overtight, the liner can be distorted before it even reaches the induction unit. Fill height also matters because product splash or product contact with the neck can interfere with liner bonding.
For pharmaceutical style packs, the bottle should reach the sealer with a clean, dry neck and a consistent headspace. That is especially important on high-speed lines where one poor fill can run for several metres before anyone notices. A practical check list at the capping point can save a lot of rework later.
- Check cap torque at the start of each shift
- Keep the neck and sealing rim free of product residue
- Make sure caps are stored away from dust and moisture
- Inspect thread engagement before induction sealing
If you see random failures instead of a repeat pattern, do not only look at the sealer. Look at the whole cap application process first.
Watch the line during changeovers and after power interruptions
In South Africa, a lot of production teams still have to manage load-shedding, generator switchover and short power dips. When that happens, induction settings can drift, conveyor speed can vary and a line can come back into production without anyone confirming the seal quality. That is where false confidence creeps in.
After any interruption, run a fresh sample and test it before releasing product. For narrow caps, even a slight change in dwell time or conveyor speed can change the result. If the plant is in a humid area like Richards Bay, store spare liners in a dry area and avoid leaving open cartons near loading bays where sea air can affect them. Not every seal fault comes from the machine, some come from the environment.
A local example: a small supplement filler in Pietermaritzburg was getting intermittent seal failures on 25 mm caps after afternoon changeovers. The issue was not the liner at all. The conveyor speed was being reset slightly higher after tea break, and the induction head was left in the previous position. Once the team standardised the setup sheet, the failures dropped off quickly.
Build a simple routine for checks, cleaning and support
Consistent sealing depends on routine. A short daily check is usually better than waiting for a breakdown. Operators should know what a good seal looks like, how to spot edge lift, and when to stop the line for a setting check. Preventive maintenance should include the head, conveyor alignment, cable condition and wear on any guide parts.
A practical routine can include:
- Daily visual seal inspection at start-up
- Weekly test packs opened for peel and bond checks
- Regular cleaning of dust and product residue around the sealing zone
- Spare liners and critical spares kept on site
- Operator training for changeovers and fault reporting
If a line keeps losing seals, do not keep increasing heat blindly. That can damage the pack and create a new problem. A better response is to check the liner match, cap torque, head position and conveyor stability in order. Good sealing is usually about control, not force.