

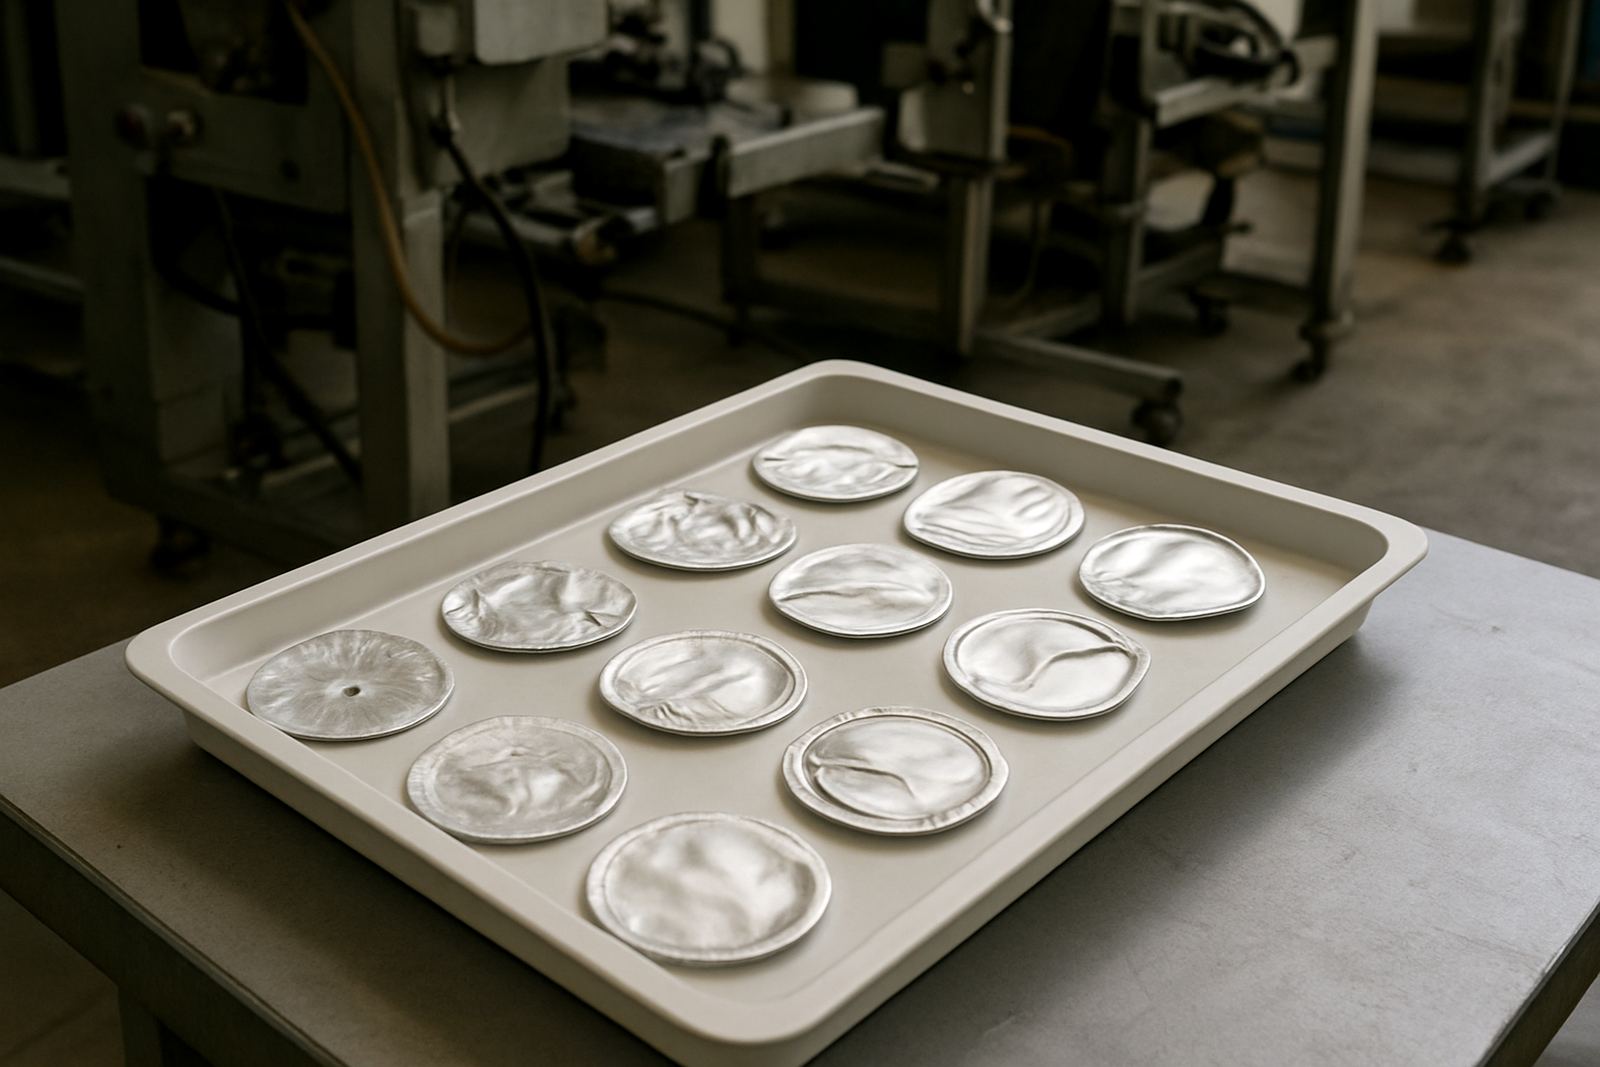
Common Seal Defects
Home / Seal Notes / Common Seal Defects

Seal Notes

Common Seal Defects

Seal failures usually show up as leaks, lifted foil or uneven bonds long before the product reaches the market. In food, pharma and chemical packing, the cause is often a mix of cap torque, liner fit, heat settings and line condition.

Partial Bonds Usually Start With Small Setup Errors

A partial bond means only part of the foil liner has attached to the container mouth, leaving an area that can peel away or leak. On induction lines this often points to the sealing head being out of position, a cap that is not sitting square, or a neck finish that has contamination on it. Even a thin film of product or dust can block heat transfer and stop the liner from bonding properly.

In Jacobs and across Durban, we often see this after changeovers when operators move from one bottle size to another and do not recheck head height. A small difference in cap profile can be enough to shift the field and leave one side under-sealed. Coastal humidity can also affect cardboard cartons and stored liners if packs are left open too long, so storage matters as much as machine setup.

  • Check bottle neck cleanliness before filling starts.
  • Confirm the induction head is centred over the cap path.
  • Match liner type to the container material and closure size.
  • Inspect caps for cracks, warp or thread damage.

Scorch Marks Point to Heat Too High or Too Slow

Scorch marks are a warning sign that the liner, cap or neck has been exposed to too much heat for too long. The marks may appear as brown patches, blistering, or a brittle ring on the foil. In some cases the product still seems sealed, but the liner has been overheated and may fail later in transport or storage.

The common causes are clear: excessive power, a conveyor speed that is too low, or a sealing head that has been set too close to the cap. If the product is sensitive, like syrups, powders or solvents, the window for correct heat is narrow. A line that worked well in winter may start showing scorch issues in summer when ambient temperatures rise and the machine runs warmer than expected.

Technicians should also look at seal head cooling and the amount of dwell time on the cap. If the output has changed after a maintenance visit, compare the current settings with the last recorded good setup. That record can save hours on site, especially when breakdown support is needed and production is already behind.

Weak Seals Often Come From the Packaging, Not the Machine

A weak seal may peel too easily, fail during inversion testing, or open under minor pressure change. Many teams assume the sealer is at fault, but the issue can sit with the liner specification, the neck finish, or even the fill level. If product is touching the sealing zone, vapour or liquid can prevent full bonding.

For chemical packs and some food products, headspace is critical. Too much product in the bottle can splash onto the finish during capping. Too little control on fill volume can also cause pressure changes in transit. When a customer in Pinetown reports seals lifting on pallets after a hot afternoon, the first checks should include product temperature, cap torque and liner compatibility, not only the induction unit itself.

  • Verify fill height before the bottle reaches the capper.
  • Confirm the liner matches the bottle material and cap type.
  • Review torque settings on the capper and hand-applied closures.
  • Run peel tests at the start of each shift and after any stop.

What To Check First When Defects Start Appearing

When defects begin suddenly, work through the line in a set order. Start with the simplest physical checks, then move to machine settings. This prevents unnecessary downtime and helps the team isolate whether the problem is happening before, during, or after sealing.

A practical inspection routine should include the cap supply, liner condition, conveyor speed, head height, and bottle neck cleanliness. If seals are inconsistent across the same batch, look for changes in container moulding or supplier lots. Small differences in neck ovality can lead to weak areas that are easy to miss on visual inspection.

  • Inspect liner placement inside the cap before capping begins.
  • Check for bent guide rails or unstable bottle transfer points.
  • Test one bottle at a time after adjusting settings.
  • Record the exact time and shift when defects begin.

Local Conditions Around Durban Can Influence Seal Quality

In coastal areas such as Jacobs, Prospecton and Richards Bay, moisture in the air can affect stored consumables and exposed packs. Liners that sit open near washdown areas may absorb humidity, while cartons stored on warm floors can deform. Those small changes can affect the way the liner sits in the cap and how the seal forms under heat.

Load-shedding also creates its own problems. When a line stops mid-run and restarts after a power cut, operators may restart at the wrong speed or with the sealing head still warming up. That can create patchy seals for the first few bottles after startup. Good restart checks are worth the time, especially on pharmaceutical and chemical runs where seal failure carries greater risk. A quick recheck after power returns can prevent a whole pallet of moterials from being scrapped.

For sites in Pietermaritzburg and inland areas, the climate is drier but dust can build up faster around equipment. The answer is the same: keep the area clean, log changes and make sure the line is set for the actual conditions on the floor, not only for the settings on paper.

A Simple Testing Routine Keeps Problems Under Control

Seal validation should not be left for the end of the shift. A short routine at set intervals gives early warning before a defect becomes a customer complaint. The best method depends on the product, but the principle stays the same: confirm the seal is consistent, strong and repeatable.

For busy plants, a practical routine includes visual checks, peel tests, torque checks and sample retention. If a seal looks dull, lifted or uneven, take samples immediately and compare them against a known good bottle. Do not guess. Small issues can move fast along a line and become expensive by lunchtime.

  • Set a fixed sample interval for every production run.
  • Keep a signed record of test results and operator actions.
  • Store retained samples for traceability.
  • Use the same test method across shifts.

When To Bring In Support Before Waste Builds Up

Some defects clear up with a quick setting change, but recurring partial bonds, scorch marks and weak seals usually mean there is a deeper issue in the line. If the same fault returns after adjustment, the problem may be with liner matching, cap quality, worn components or the sealing head itself. At that point, outside support can save product and time.

For operations that run multiple shifts in Durban, Pinetown or nationwide distribution depots, response time matters. Preventive maintenance, breakdown repairs and commissioning support help keep the line stable, while remote checks can often narrow the fault before anyone travels. The aim is simple: less scrap, fewer stoppages and better control of every batch. If your seals are drifting, do not wait until returns start coming back. Sort the cause while the line is still producing usable stock.

Questions we get asked

What is the most common cause of partial seal bonds?

The most common causes are poor cap alignment, contamination on the bottle neck, or the induction head being out of position after a changeover.

Why do scorch marks appear on induction seals?

Scorch marks usually mean too much heat, too much dwell time, or a line running too slowly for the sealing settings being used.

How can I test whether a seal is weak?

Use a peel test, visual inspection and product-specific validation checks. If the seal lifts too easily or leaks under pressure, it needs attention.

Planning something? Send the team a message.

Contact form