
Why sealer head height matters on every shift
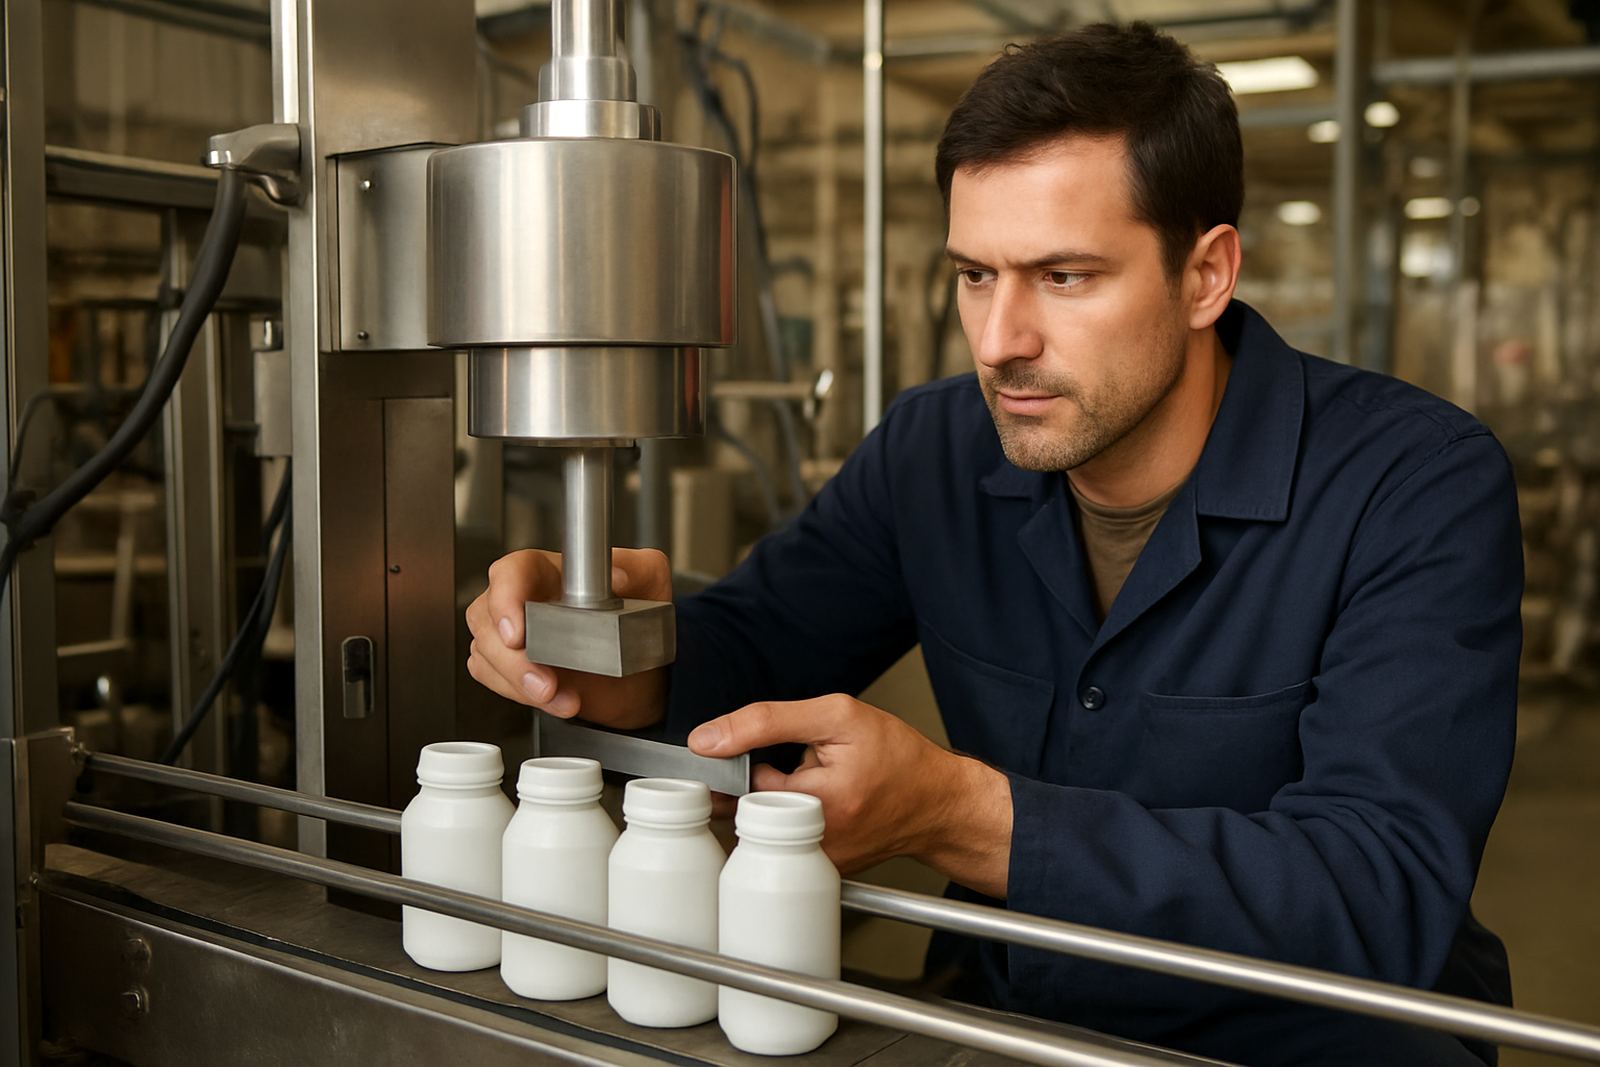
On an induction cap sealer, the head must sit at the right distance from the cap so the field transfers enough energy into the liner without stressing the bottle or cap. If the head is too high, the seal can be patchy, with missed spots around the rim. If it is too low, the seal may overheat, the cap can distort, and plastic bottles may show heat marks or warping.
For food, pharmaceutical, and chemical packs, that matters because the seal is part of the product protection system. A good seal helps prevent leaks, tampering, moisture ingress, and contamination. In Durban, where humidity can be high and coastal air is unforgiving on stored cartons and closures, a weak seal often shows up quickly during transport or warehousing.
Head height also affects repeatability. Once a line is set for a particular bottle and cap combination, operators should be able to keep output steady through a full shift. That is especially important during load shedding or generator changeovers, when line speed and power stability can vary a bit and people are tempted to make quick adjustments without checking the basics.
How to set head height before you start production
The safest approach is to set the head height with the exact bottle, cap, and liner that will run on the line. Check that the conveyor is level, the capper is closing correctly, and the bottle top is consistent in height. If fill levels change too much, the bottle may sit differently under the sealer head and the seal will vary.
A practical set-up starts with a few sample bottles. Run them slowly, inspect the liner after sealing, and then fine tune the head position in small steps. Do not chase the seal by changing too many settings at once. One change at a time makes it easier to see what actually improved or worsened the result.
- Confirm bottle height, cap type, and liner size before adjustment.
- Check that the conveyor guides hold the bottle upright and centred.
- Set the head square to the cap, not tilted to one side.
- Keep the gap consistent across the full bottle top.
- Test seal integrity before moving up to full speed.
If the machine has a height scale or marked adjustment points, record the setting for each product. That simple habit saves time during changeovers and helps new operators get back to the correct position faster.
Signs the head is too high or too low
Many sealing faults look like liner problems at first, but the real issue is often head height. If the head is too high, you may see incomplete seal rings, weak peel results, or a liner that looks only partly transferred. Bottles may pass visual checks yet fail later in packing or delivery.
When the head is too low, the liner can overheat and the seal may look overly flat or distorted. Some bottles develop scuffing on the cap top, and thin containers may flex more than they should. On some products, the operator may also notice more rejects because the line speed has to be slowed down to compensate for the poor setting.
- Uneven or partial seal transfer
- Cap distortion or softening
- Burn marks, scorching, or over processed liners
- Leaks during tilt, squeeze, or drop checks
- Higher reject rates after a product change
These signs should not be ignored. A seal that looks acceptable in the hand may still fail in a warm truck, in a Richards Bay store room, or after a rough courier run to another province.
Safe adjustment steps for operators and maintenance teams
Head adjustment must be done with the line stopped and isolated where required. Never reach into the sealing area while the machine is live. If the sealer has a conveyor interlock or height locking system, make sure it is engaged before testing again. Operators should know which controls are safe to use and which must stay under maintenance or supervisor control.
It is also important to work clean. Dust, broken liner pieces, and product residue around the head can affect distance and consistency. On chemical lines, spill control matters too, because some containers may leave a film that changes bottle seating and makes the seal look inconsistent.
Use a test routine after every major adjustment. Seal three to five bottles, cool them properly, and then inspect each one. For some products, a simple torque or leak check is enough. For others, especially regulated goods, validation checks should follow the site procedure and the required standard.
- Stop and isolate the line before moving the head
- Lock the setting once the correct height is found
- Clean the sealing area before testing
- Run a small test batch after each change
- Record the final height for future changeovers
Bottle shape, liner type, and product fill all change the setting
There is no single head height that works for every container. Short bottles, tall bottles, wide mouths, narrow necks, foil liners, and lined caps all behave differently. A product packed in a rigid pharmaceutical bottle may need a different setup from a food jar or a chemical container with a wider mouth. Even the fill level can alter how the bottle sits under the head.
That is why liner matching matters. The liner must suit the cap size and the pack format, otherwise operators end up trying to solve a material problem with a mechanical adjustment. If the seal is weak because the liner does not match the container finish, lowering the head will not fix it properly.
In Jacobs, for example, a line running smaller medical bottles in the morning and larger chemical containers later in the day may need two documented settings. Without that record, the team spends time guessing, and the first few hundred packs of the next run often cost more than the adjustment ever should have.
What good setting practice looks like on a busy South African line
Good head height setting is not only about the first set-up. It is about keeping the line stable through shift changes, bottle changes, power interruptions, and normal wear. A clean, written setup sheet should show the correct height, speed, and any product specific notes. That helps when a second operator comes in after lunch or when a technician visits for preventive maintenance.
When a line is running well, the sealer should not need constant attention. If the team is adjusting the head every few hours, there is likely a deeper issue with bottle variation, conveyor alignment, worn parts, or incorrect liner specification. A proper inspection by an experienced technician can save a lot of trial and error.
For plants across Durban, Pinetown, Prospecton, Pietermaritzburg, and Richards Bay, the goal is simple: stable seals, fewer rejects, and less downtime. That starts with a correctly set head, then staying disciplined enough to keep it there.
When to call for commissioning or repair support
If the head will not hold position, the setting slips during operation, or the line keeps producing weak seals even after normal adjustment, the machine may need a closer look. Worn guides, loose brackets, damaged height mechanisms, or a misaligned conveyor can all show up as sealing faults. These problems are best handled before they affect full production.
Commissioning support is especially useful on new lines, after relocation, or when a different bottle format is introduced. Operator training also helps because a well trained team can spot a bad setting before it becomes a batch problem.
For sites that need practical backup, Bottle Sealers supports sealing lines from Jacobs and across South Africa with installation, line commissioning, seal validation, preventive maintenance, breakdown repairs, spares supply, liner matching, line optimisation, and remote support. If you need help with sealer head height, a quick site check can often get the line back to steady production without unnecessary delays.