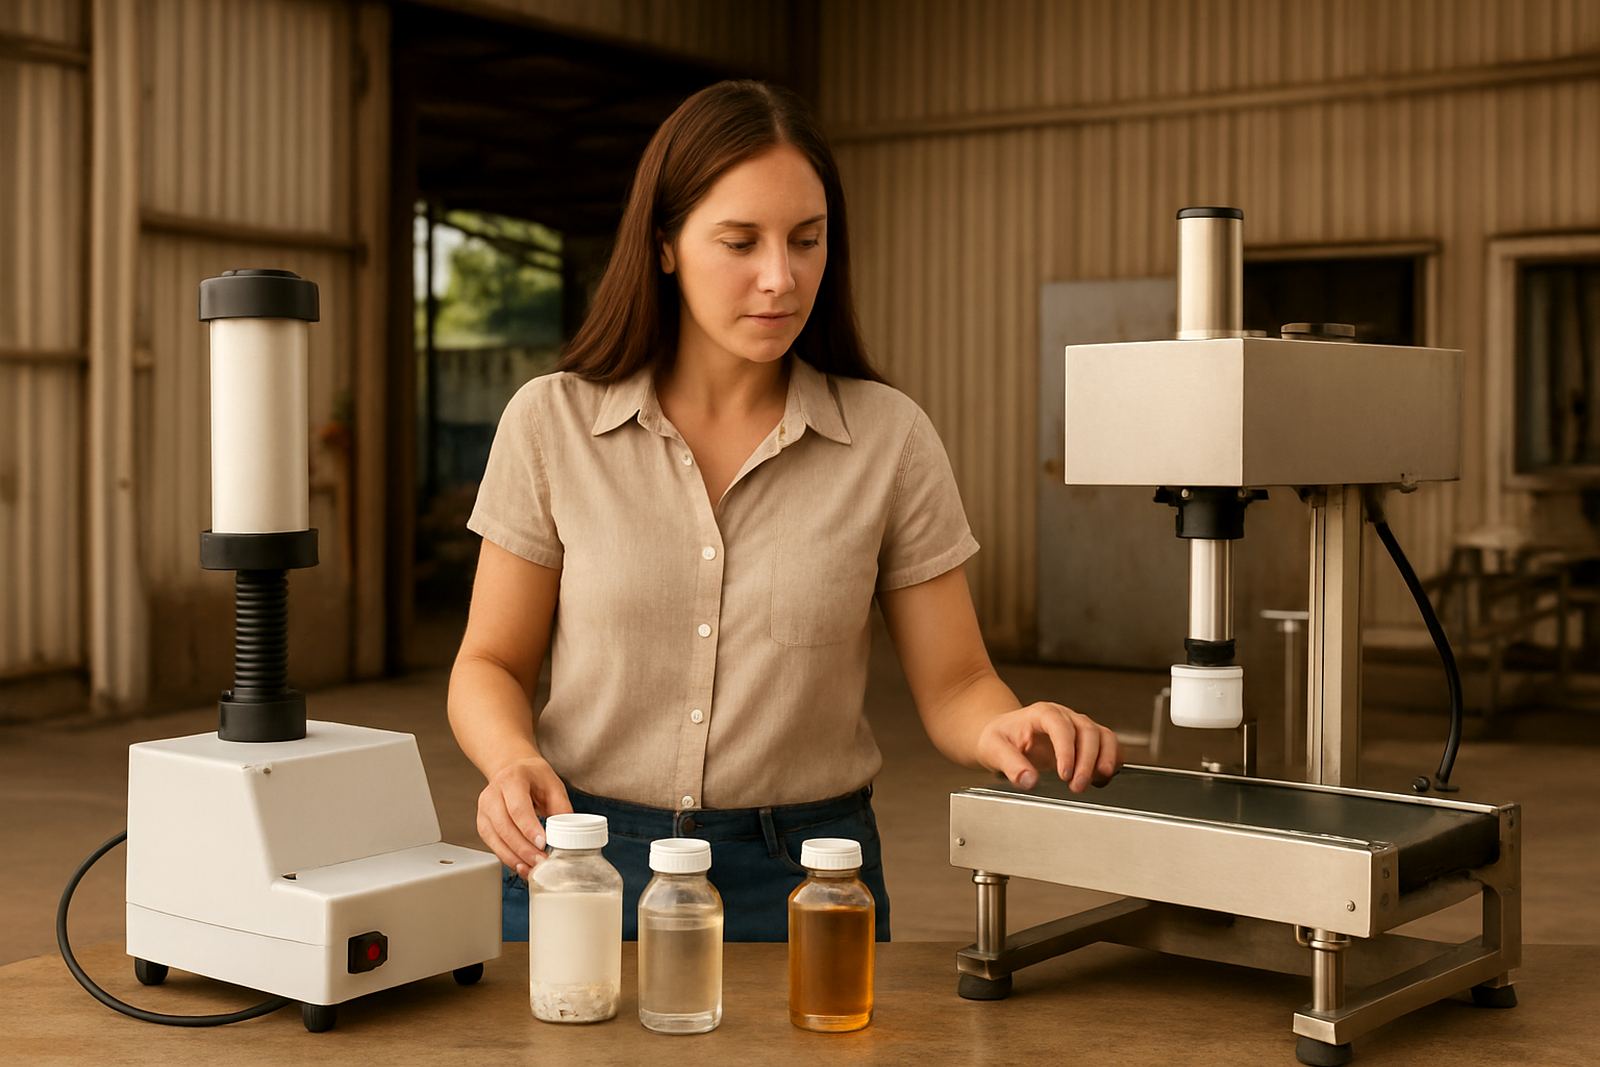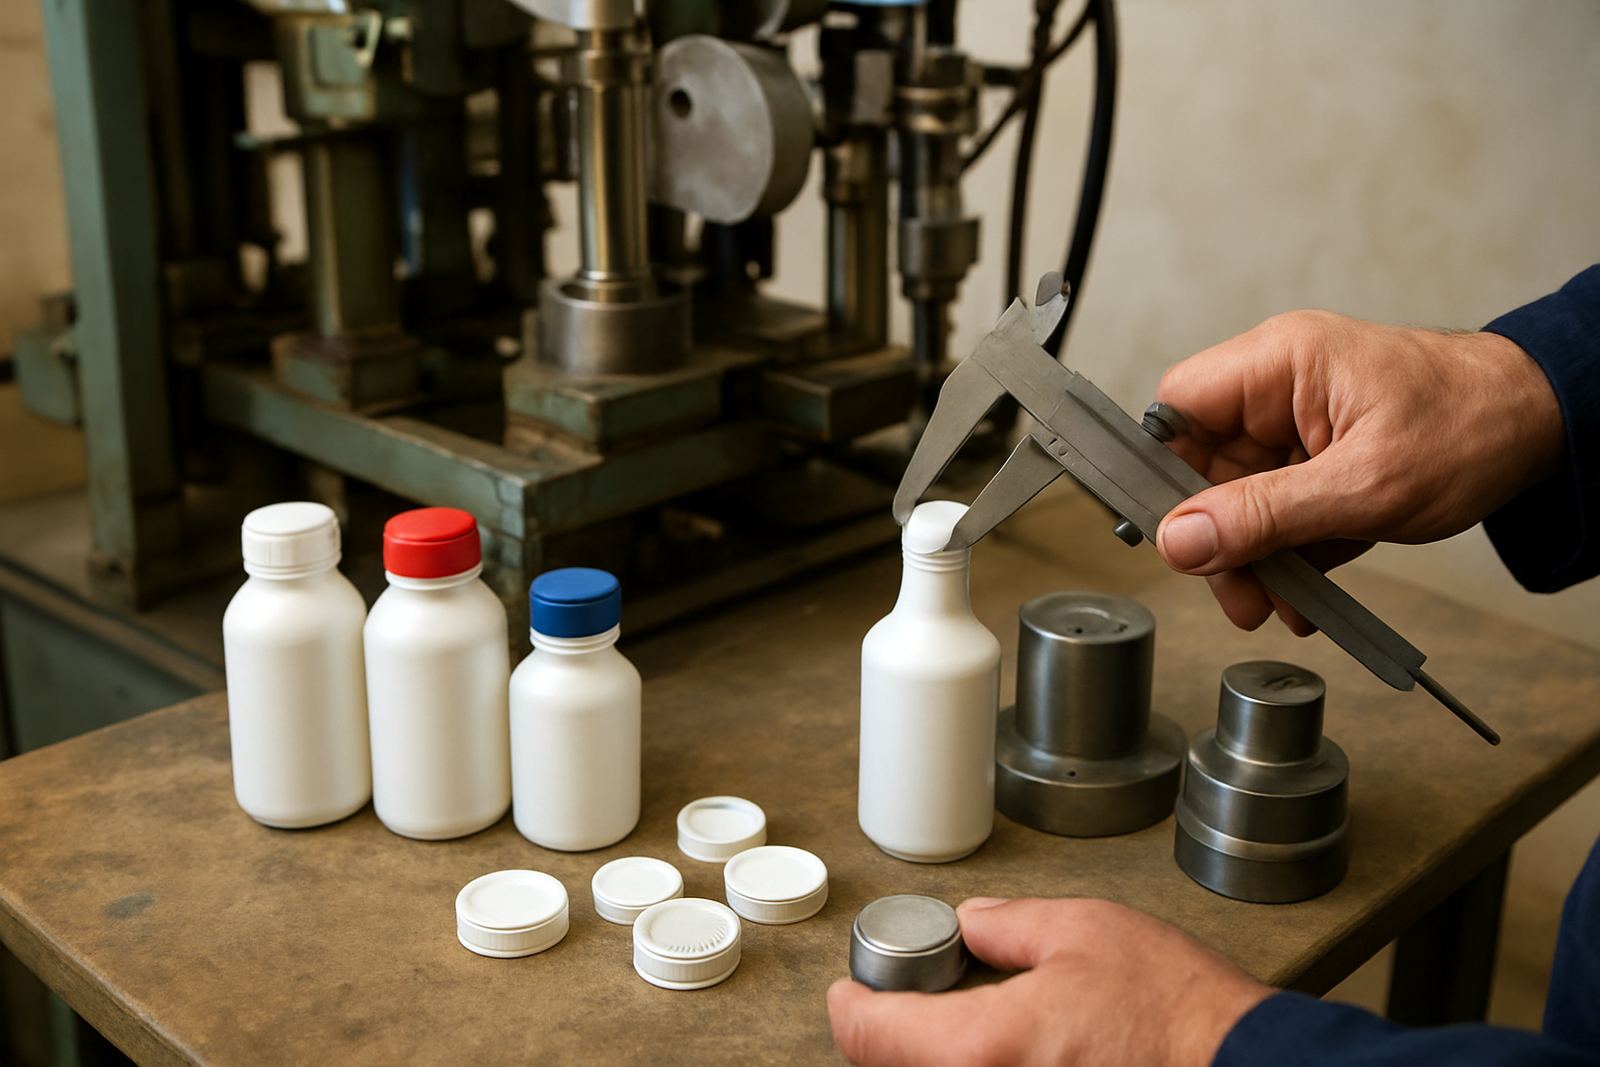

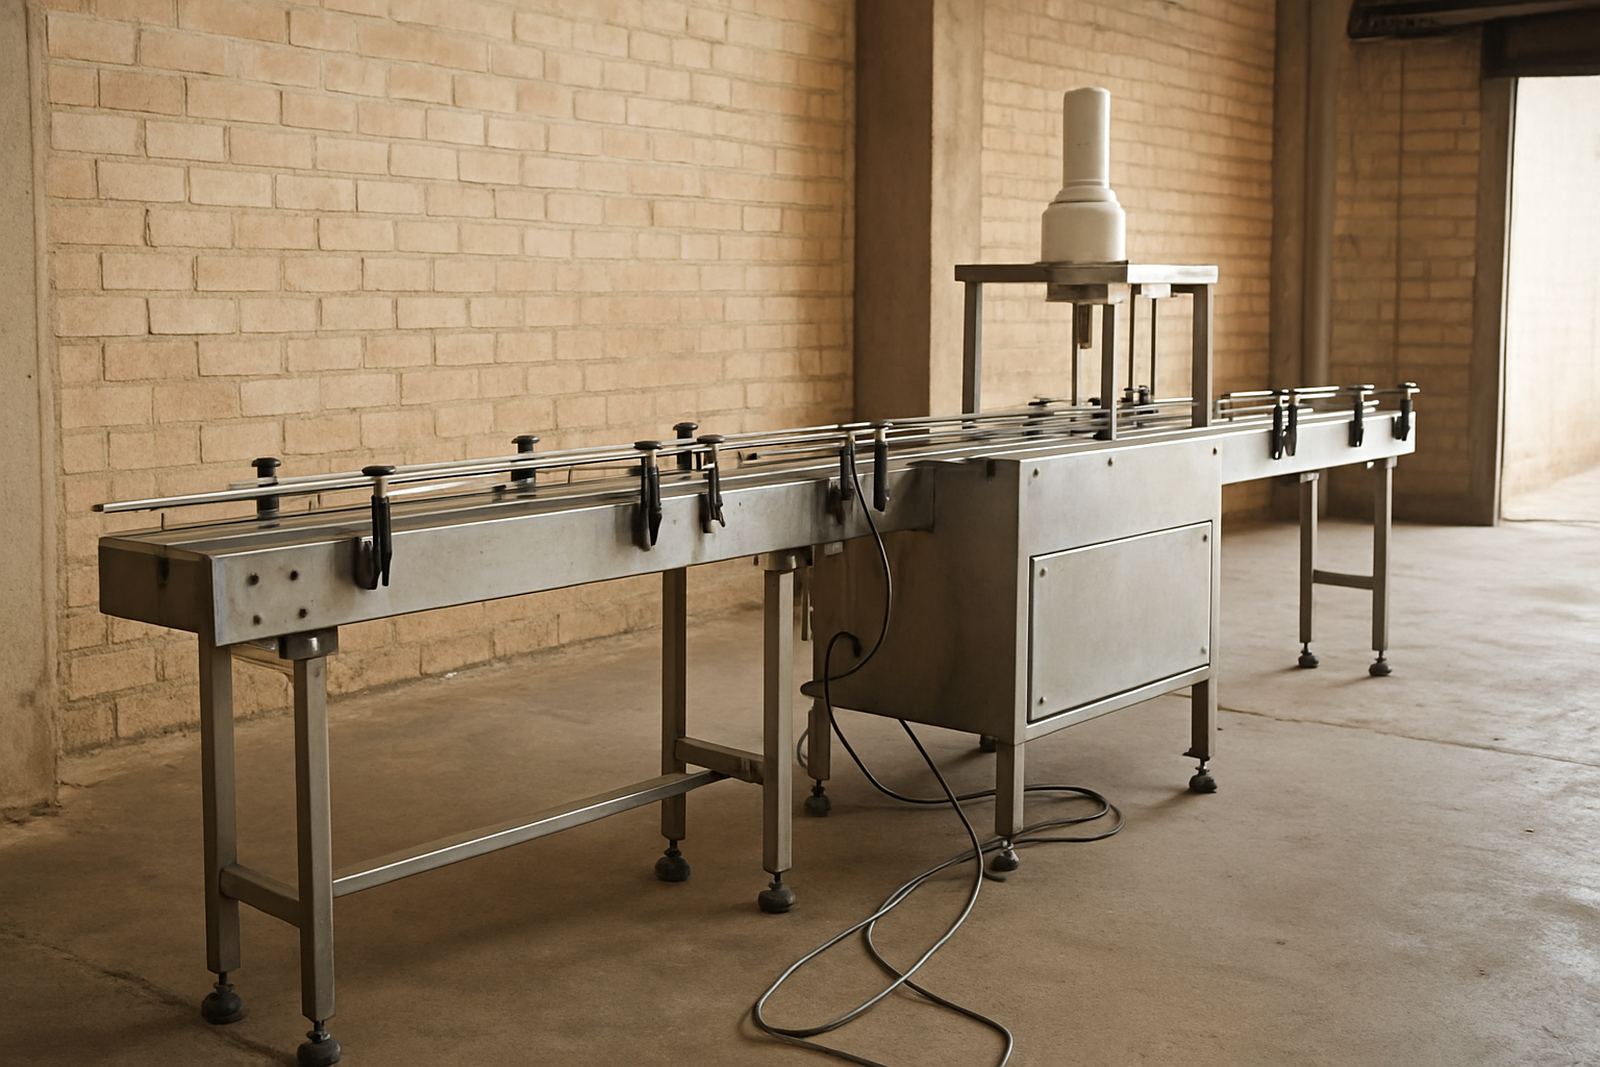
Start With the Product Flow, Not the Machine
Line layout should follow the container from fill to cap, then to inspection, then to case packing or the next handling point. The induction sealer belongs after capping, once the closure has reached its final torque and the bottle or jar is steady on the conveyor. If it is placed too early, the liner can be heated before the cap is seated properly and you get weak seals or wrinkles. If it sits too late, handling after sealing can disturb the finished seal and cause unnecessary rejects.
In most food, pharmaceutical, and chemical lines, the best position is a short, straight run immediately after the capper. That gives the container enough stability for a clean seal pass while keeping the sealing head close to the cap application point. On busy lines in Jacobs, Pinetown, or Prospecton, this also helps keep changeovers tidy because operators can see the full cap to seal sequence in one area.
- Place the sealer after the final cap torque point.
- Keep the conveyor straight for the sealing section.
- Allow enough gap for container stability, not excessive spacing.
- Keep the line easy to watch from one operator position.
Give the Sealing Head the Right Space and Height
The sealing head needs consistent container height and a stable conveyor surface. Measure the tallest and shortest pack sizes that will run on the line, including any future bottles or jars, and make sure the head can be adjusted without slowing production. If the gap is too tight, operators will struggle during format changes and the line will lose time at every shift start. If the head is too high, the electromagnetic field may not give even heating across the liner.
Check that the conveyor frame is rigid, level, and able to carry the full filled weight of the pack. This matters on chemical lines where containers can be heavier than expected. In Durban's coastal conditions, stainless parts and protected electrical components also help reduce corrosion from humidity. If the plant sees load-shedding, allow for controlled restart points so the sealing unit can come back into line safely after power returns.
- Measure the full height range of every container size.
- Leave access for height adjustment and cleaning.
- Confirm the conveyor can handle filled pack weight.
- Protect electrical parts from moisture and salt air where needed.
Build Inspection Points Where Faults Can Be Caught Early
Inspection should sit after sealing, not before it. That way the team checks the finished closure, not just the applied cap. For most operations, a visual check or automatic inspection point immediately after the sealer works well, followed by a reject station before pack-out. This keeps non-conforming units from moving into cartons, crates, or shrink wrap where they become harder to recover.
Make sure the inspection station can clearly see the tamper evidence, cap seating, and container finish. On pharmaceutical and chemical products, operators should be able to spot liner lift, scorch marks, misalignment, or incomplete bonding at once. In food plants, this is also where you confirm that seals are clean and do not show contamination from product splash or cap thread damage. A short straight run after the sealer helps the inspector do the job properly.
- Inspect after sealing, not before.
- Place the reject point before secondary packing.
- Check cap seat, tamper evidence, and seal finish.
- Train inspectors to recognise heat damage and liner faults.
Match the Liner to the Container and Cap
Good layout is not only about machine position. It also depends on choosing the correct foil liner for the bottle, jar, or tub being sealed. The liner must match the cap material, neck finish, and product type. A liner that works on one pack size may not perform the same way on another, especially where closure torque, fill temperature, or product residue changes from batch to batch.
Before a new line is commissioned, test the liner on the actual container, with the final cap, at production speed. Check the results on warm fills, cold fills, and any product with oils, powders, or aggressive chemicals. Where there are frequent format changes, keep the liner supply organised by size so operators do not mix components during a busy shift. That small discipline saves a lot of rework.
- Test the liner on the real container and cap combination.
- Check performance at production speed.
- Separate liner stock by size and product family.
- Record the right torque and seal settings for each format.
Plan for Maintenance, Cleaning, and Power Interruptions
A good layout gives technicians enough access to inspect the sealer, clean around the conveyor, and replace wear parts without taking the whole line apart. Leave room around the head, the conveyor side rails, and the inspection point. In plants that run across shifts, preventive maintenance should be built into the layout so the crew can test cooling, alignment, and spares access quickly.
Where load-shedding is a reality, think about restart discipline from the start. The line should have a clear start-up point after a power cut, with operators able to check cap integrity before production resumes at full speed. In coastal towns such as Richards Bay or Durban, keep humidity and dust in mind when positioning electrical panels and spare liner storage. Dry storage and good housekeeping go a long way, even if the plant is running hard.
- Leave access for cleaning and maintenance.
- Store spares close enough for fast changeouts.
- Use a clear restart check after power interruptions.
- Keep liner stock dry and away from contamination.
Use a Simple Commissioning Checklist Before Production Starts
Once the layout is set, commission the line in the same order it will run in production. Start with the capper, then confirm the induction sealer position, then check the inspection point and reject path. Do a small trial run and keep the first seals for validation before the line is released. This helps catch timing issues, height settings, and conveyor pressure problems before a full shift begins.
A practical commissioning checklist should include line speed, container spacing, cap torque, seal finish, reject function, and operator sign-off. If the plant is in Pietermaritzburg, Jacobs, or Prospecton, a local site visit can also help with practical matters like floor level changes, conveyor access, and cable routing. The aim is simple: the sealer should work as part of the line, not as a separate problem spot.
- Confirm capper settings before sealer setup.
- Run trial packs at full line speed.
- Validate seal quality and reject performance.
- Record settings for future changeovers.